DIY Easter bunny mason jar step by step. Are you looking for an easy Easter craft to make with your kids, or to decorate this Easter? You come to the right place, as you are about to learn how to make one of the sweetest Easter crafts for kids and adults.
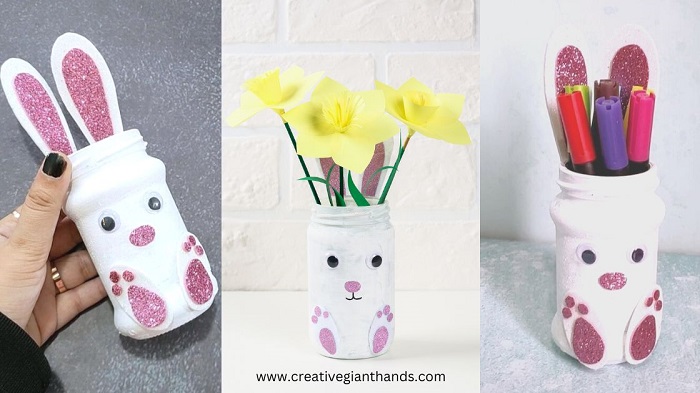
Easter bunny mason jars are such a cute and easy craft to make and use for Easter decor or as Easter gifts. There are many spring craft ideas to choose from, but this Easter Bunny Mason Jar is such a unique DIY project, that will allow you to use these pieces not just for Easter decor, but all year round, keeping your pens organized and neat and if you like, sweets and treats.
DIY Easter bunny mason jar step by step
If you prefer to watch the video tutorial, you can find it on our YouTube channel. Click here for the video tutorial. Also, subscribe for new craft videos that you won’t find listed on our blog.
Related posts:
Easy diy toilet paper roll crafts
DIY Japanese paper lantern step by step
To Make an Easter Bunny Mason Jar you’ll need:
- 1 Mason Jar
- White paint
- Paint Brush
- Painting sponge
- Glue or Hot Glue Gun
- Googly eyes
- White Cardstock or White Glitter Sheet
- Pink Glitter sheet
- Scissors
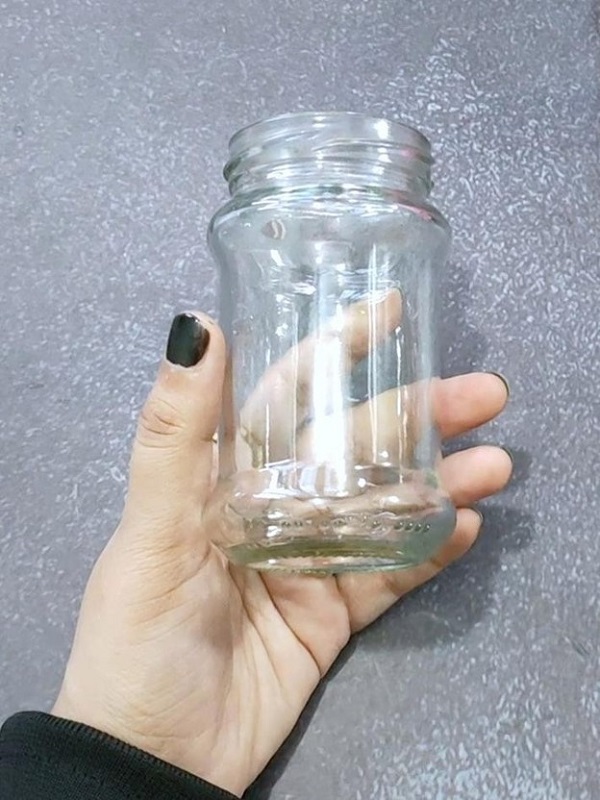
Step 1
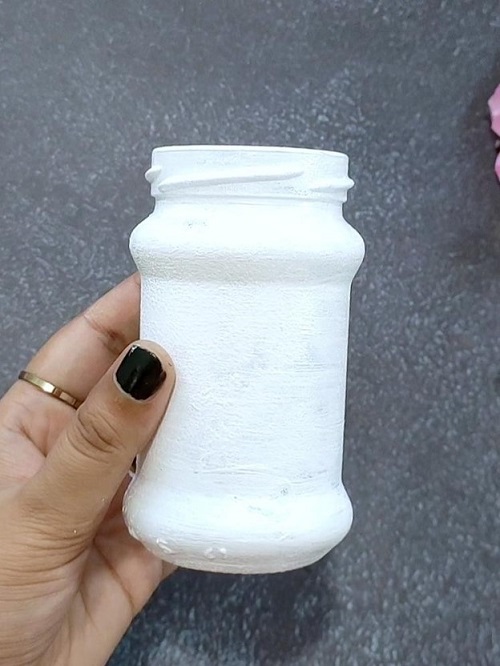
Before you get started on making your own Easter mason jar, you will need to prepare the glass jar first. Clean the jar with mild soap and water or a cotton ball and some rubbing alcohol so that the glass comes completely clean and ready for painting it.
Step 2
Start by painting the glass jar completely white. This might take two coats to achieve your desired opacity. I have also painted here with foam, which gives a good texture to it. You can use any other color you like, I just like white and that’s what I’ve used for this Easter craft.

Now my glass jar is completely white exactly how I wanted it
Step 3
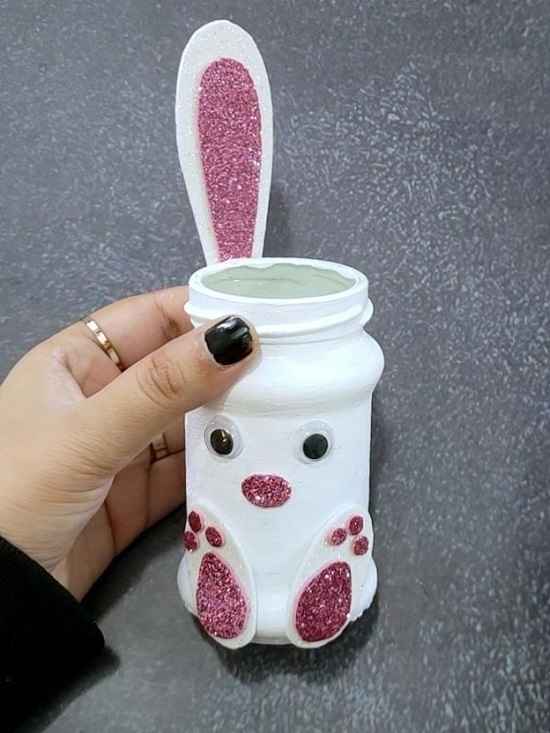
When the jar is completely dry, it’s time to cut out your ears and feet. I have used white and pink glitter sheets. You can use color as per your choice. And we will also need 2 piece googly eyes.
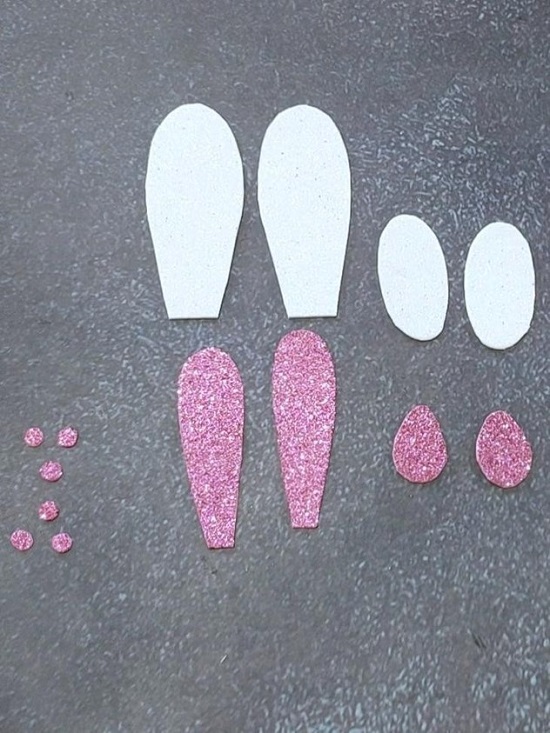
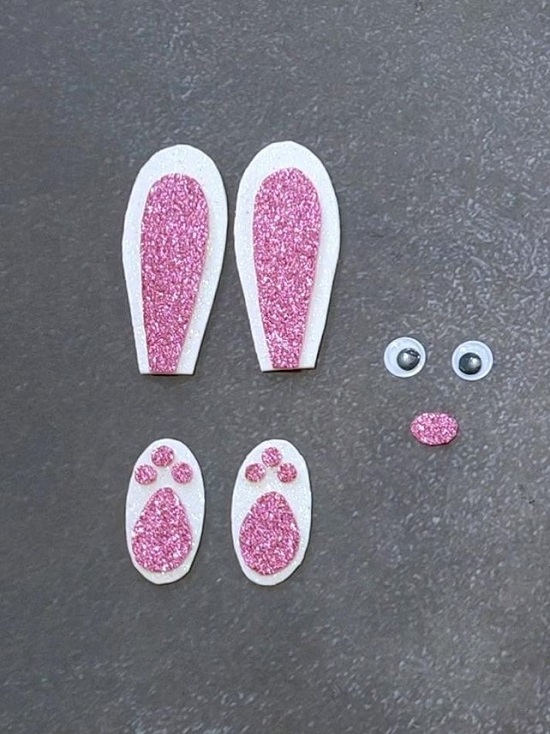
Cut the glittery bunny parts as shown in the images and glue them on top of the white pattern
Step 4
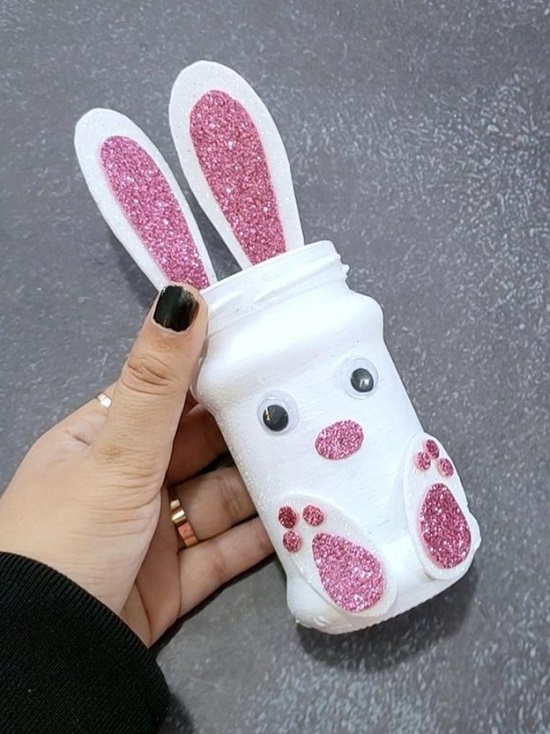
After painting the mason jar and when everything is cut, go ahead and glue it all together. Place the ears on the back of the Mason jar.
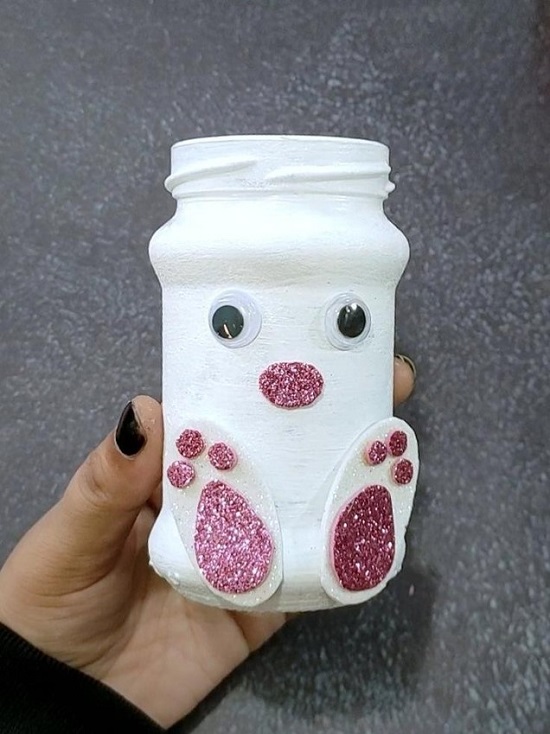
Glue the ears of the bunny on one side of the glass jar
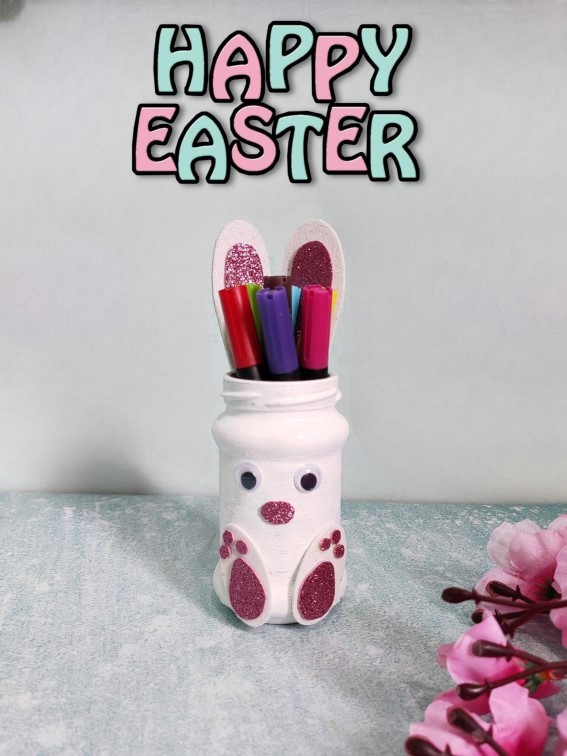
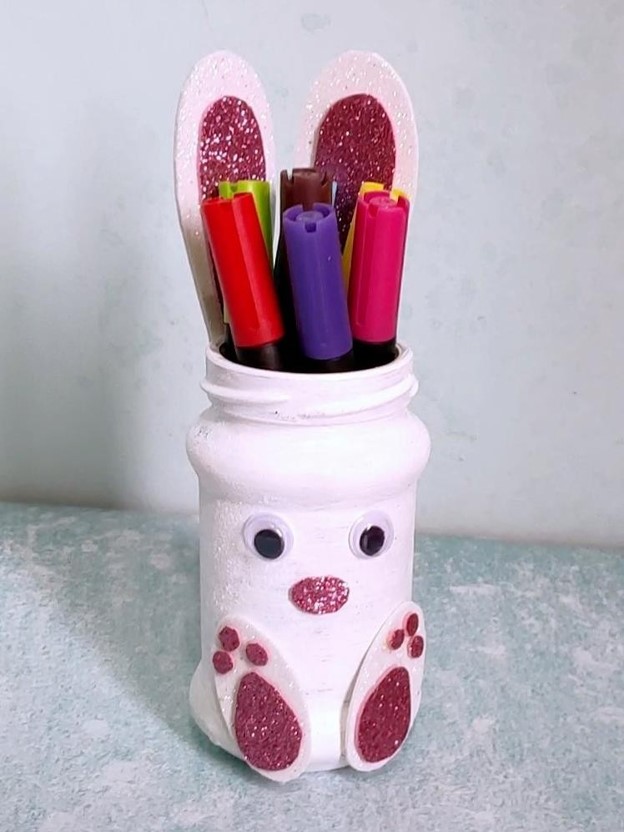
And the easter bunny mason jar project is complete
You can place pens or even sweets in the bunny mason jar.
I hope you enjoy making this easy bunny mason jar and don’t forget to pin any image you like or share the link on social media to remember this easter craft idea in the future.
If you like to use one image for your round-up blog posts, a do-follow link to this post is mandatory. Thank you!