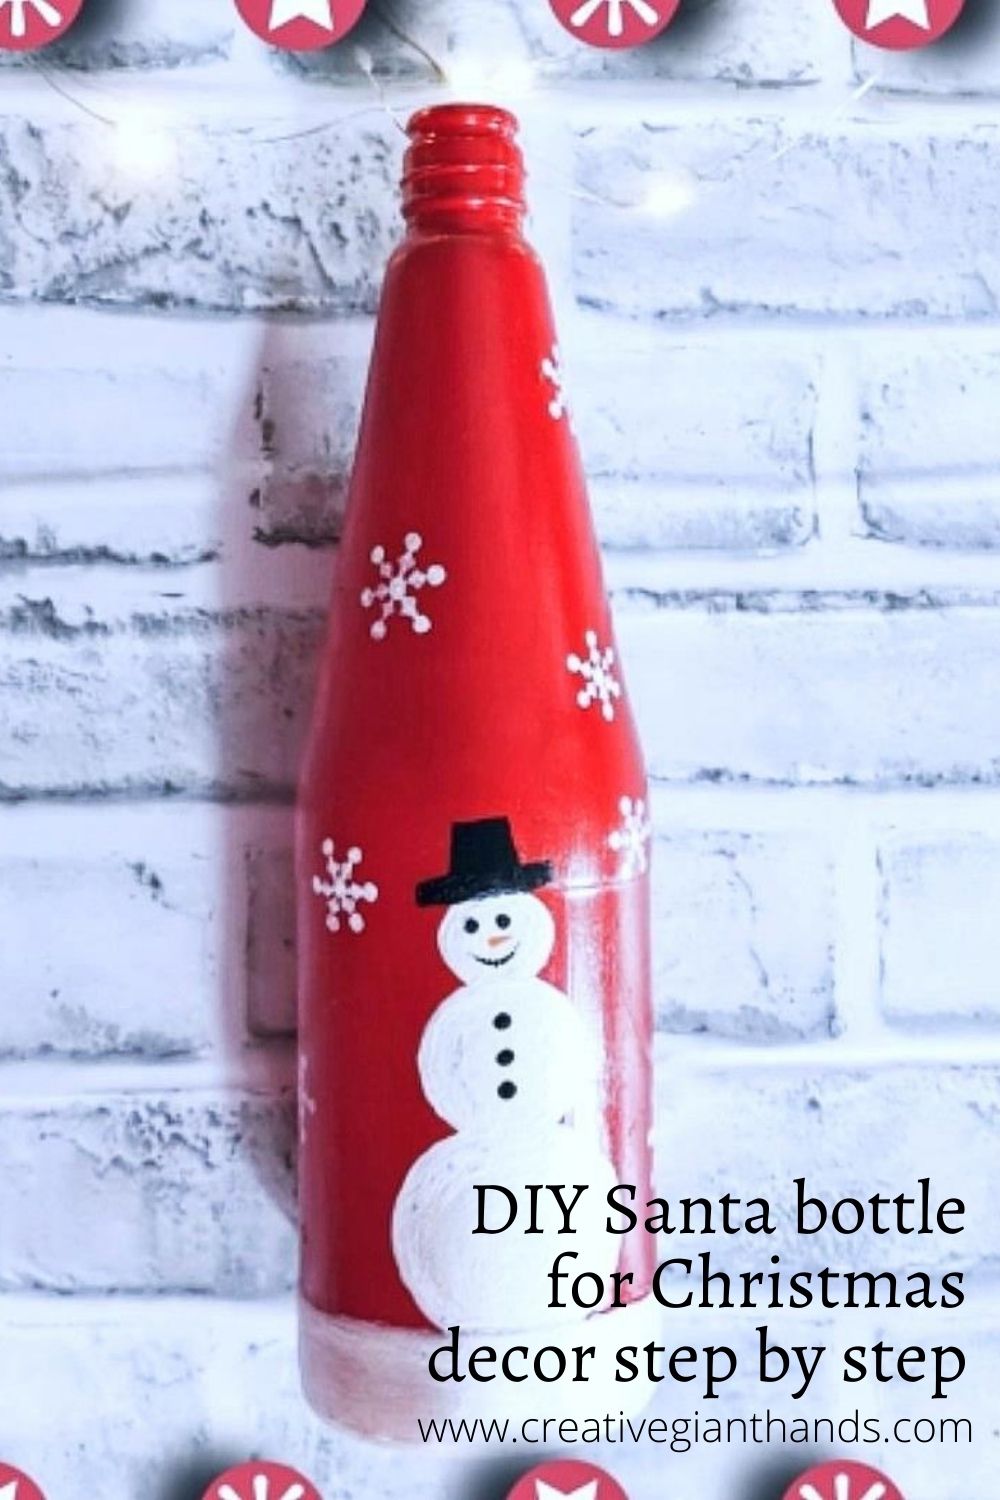
DIY Santa bottle for Christmas decor step by step. If you looking for authentic Christmas decorations but also want to save money, this Santa decorative bottle is perfect for welcoming the Christmas spirit and an additional piece for the festive season. Creative ways to decorate empty bottles.
Christmas crafts become more interesting when they come with a touch of personalization and an element of recycling products and also the most basic of household stuff. Decorated bottles are always in trend.
Now, we’re going to look at these amazing ways to transform glass bottles into these festively easy Christmas crafts and decorating ideas. These are gorgeous and such a lovely way to display your Christmas greenery or other foliage.
DIY Santa bottle for Christmas decor step by step
We all love Christmas decorations, but when making the ornaments with your own hands, the satisfaction is tremendous. All you need is time, patience, and a little passion for the crafts. The rest will follow.
Let’s begin the Santa decorative bottle tutorial:
Materials You will need:
Empty Glass Bottle
Paint brush
Red color paint
Black color paint
White color paint
STEP 1
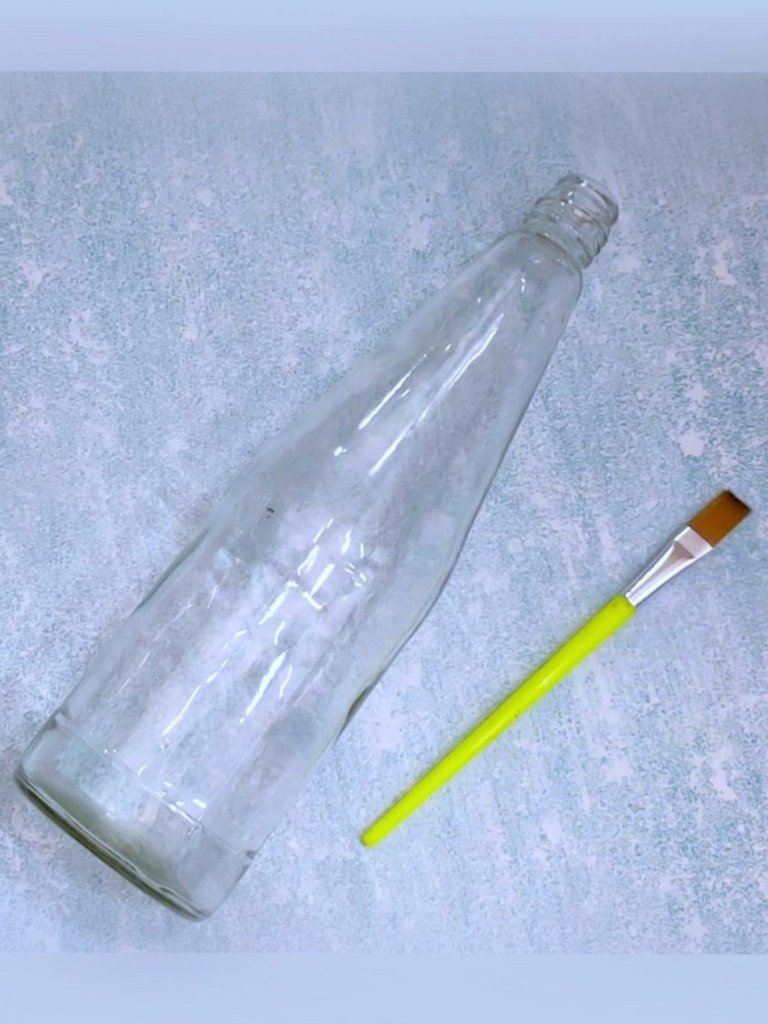
We will take a glass bottle or can also take a bottle of wine which is available. I have this glass bottle and a paint brush to paint the bottle.
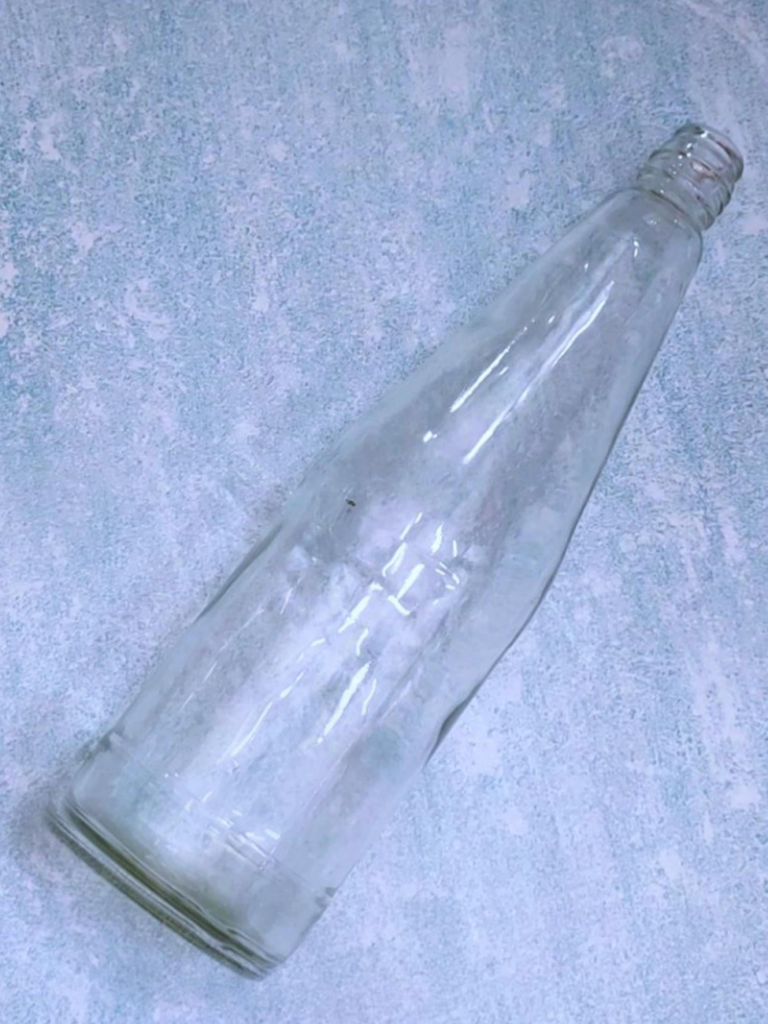
Then I painted the entire bottle with red color, when the paint dried completely, then I applied the second coat of red color on top. so that we can get a good result.
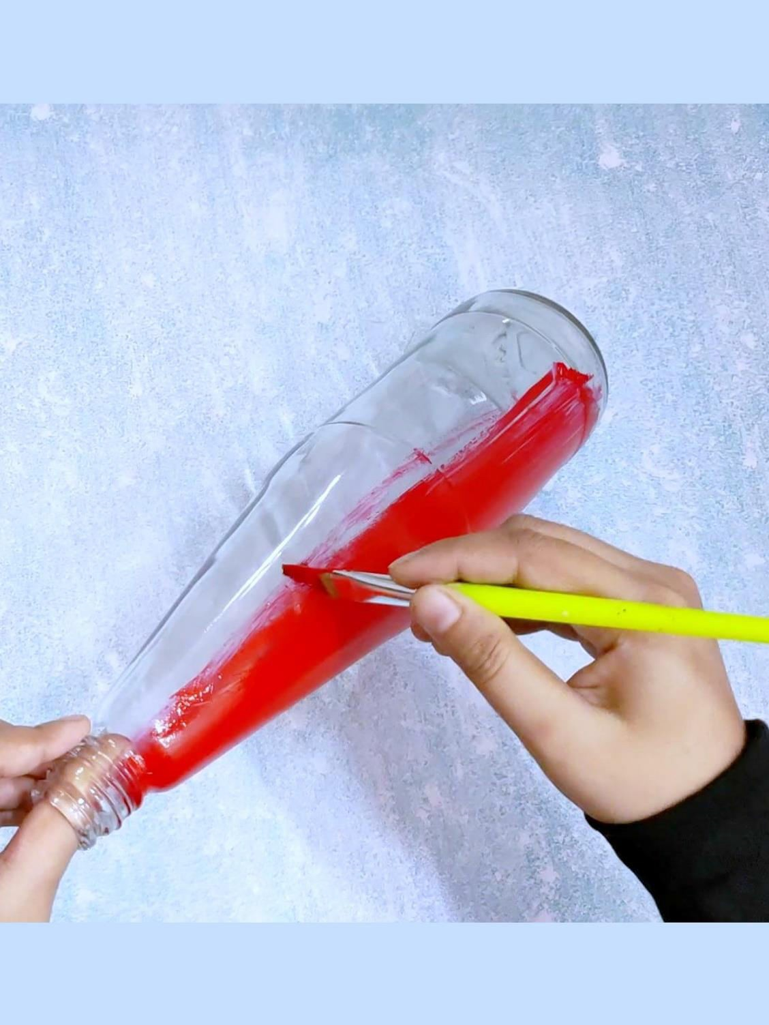
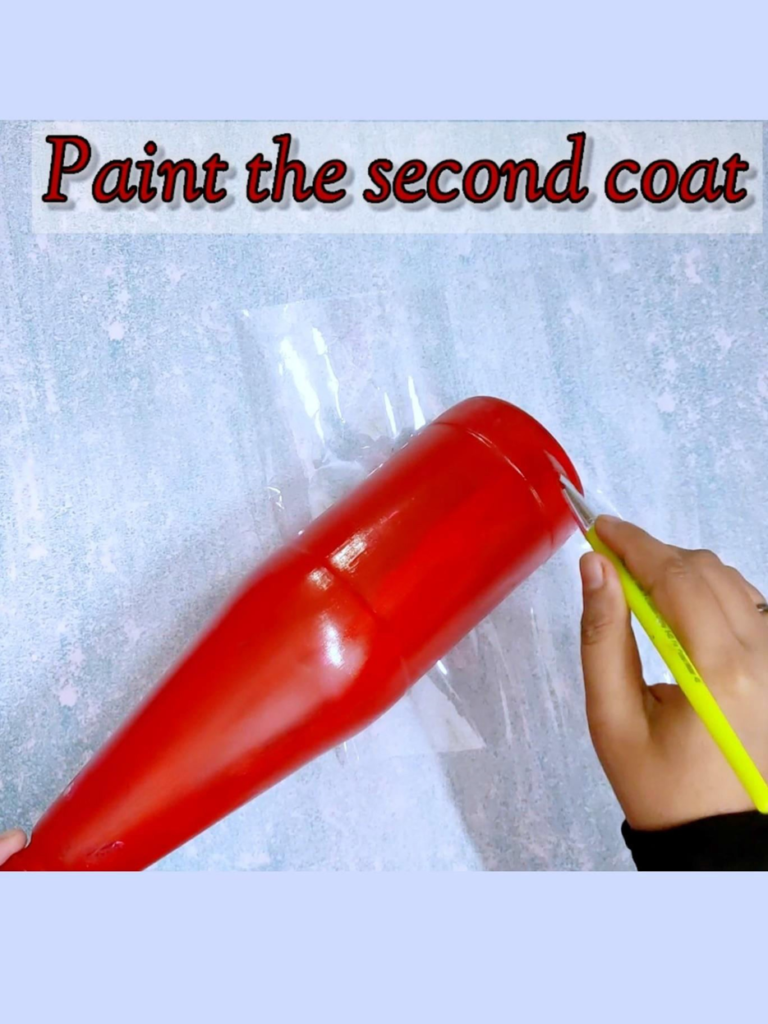
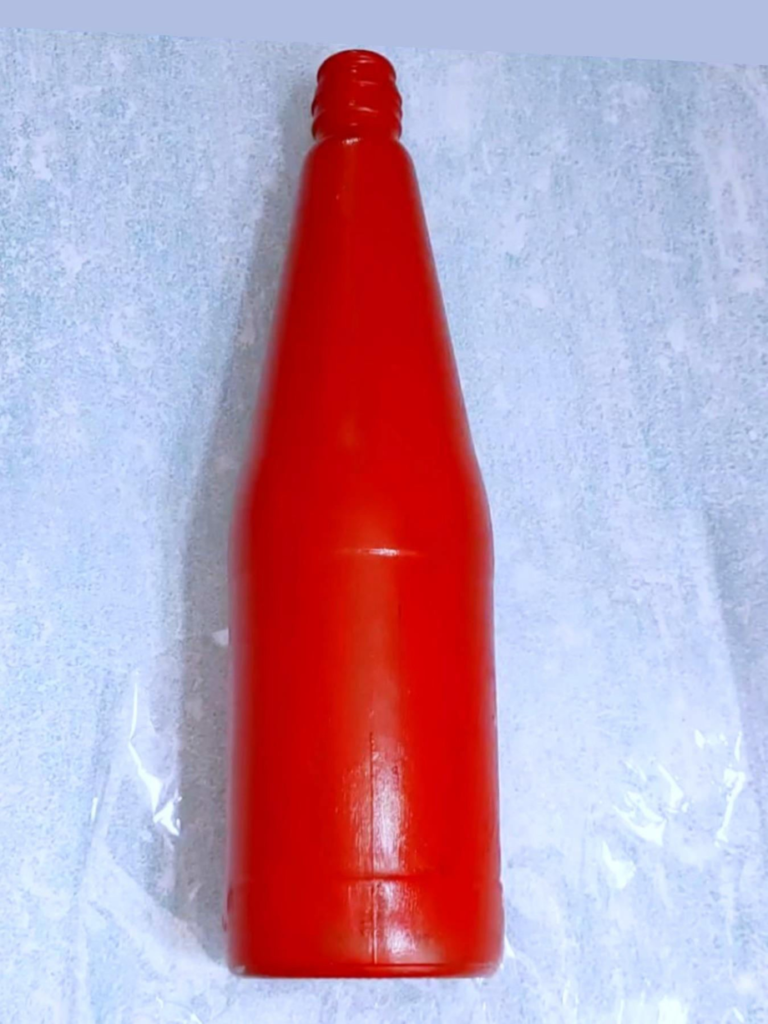
Let the paint dry completely. After that, we will use white color to make the snowman. So we have to let the red paint dry completely otherwise the colors will mix with each other. Just be careful.
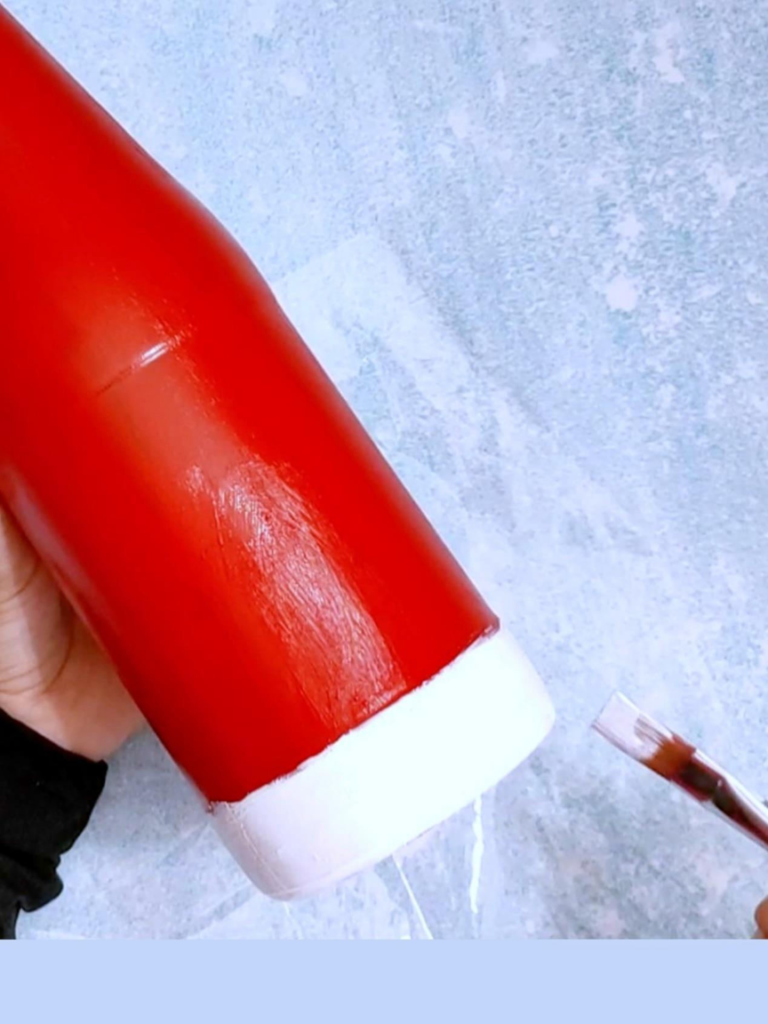
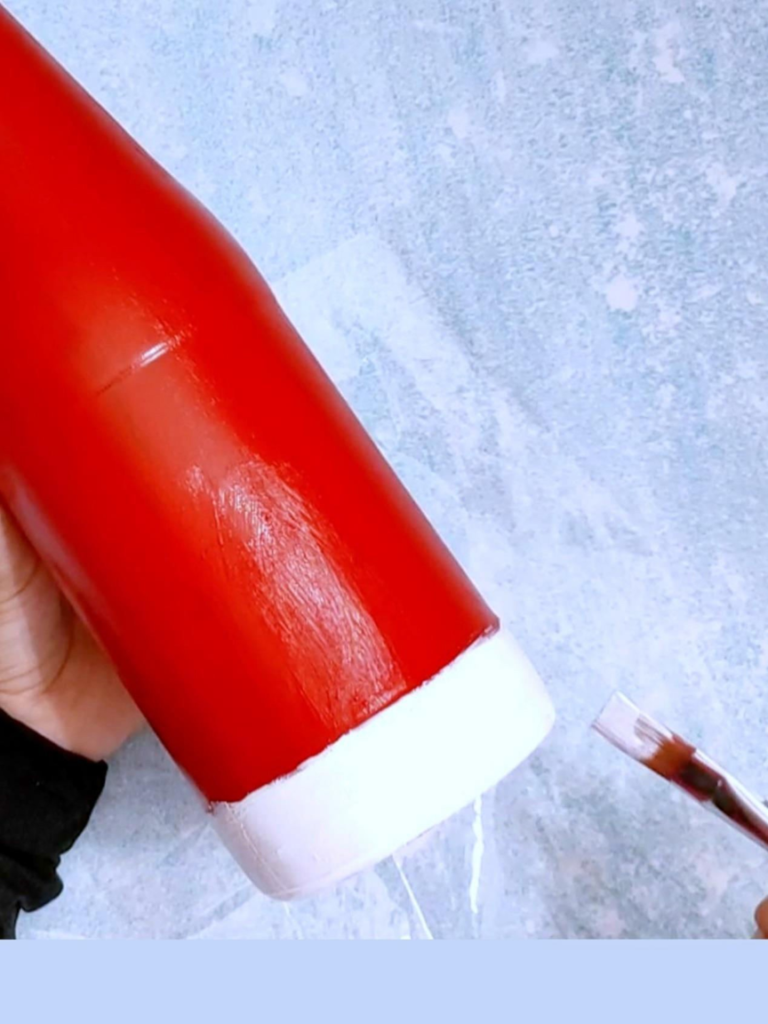
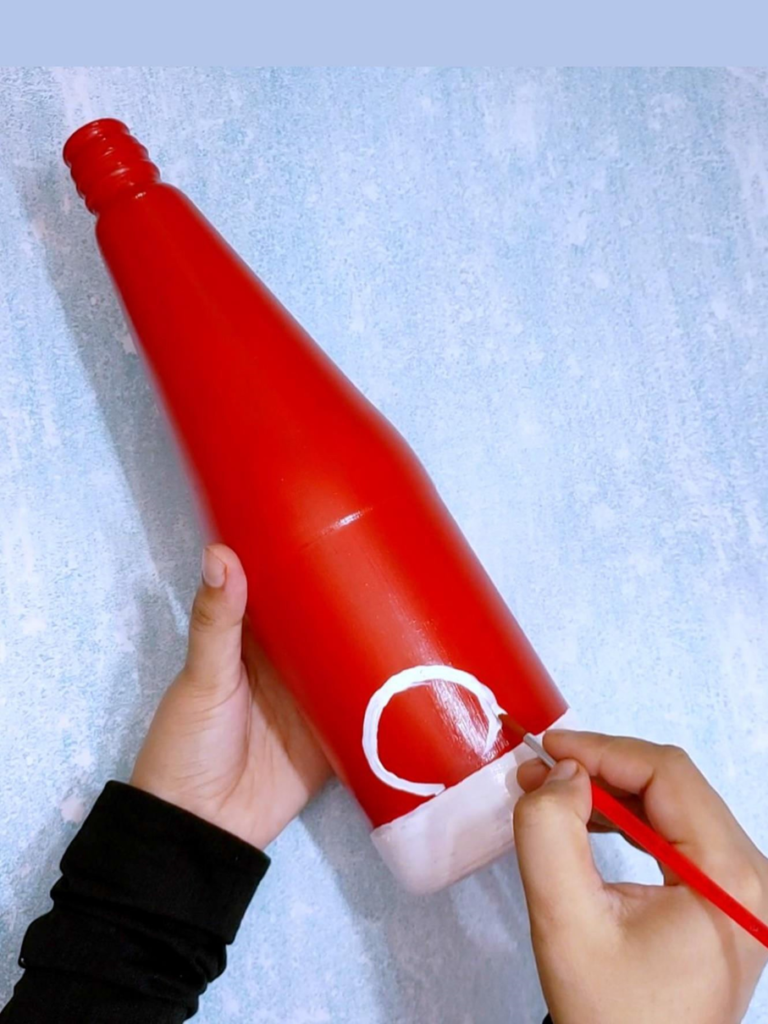
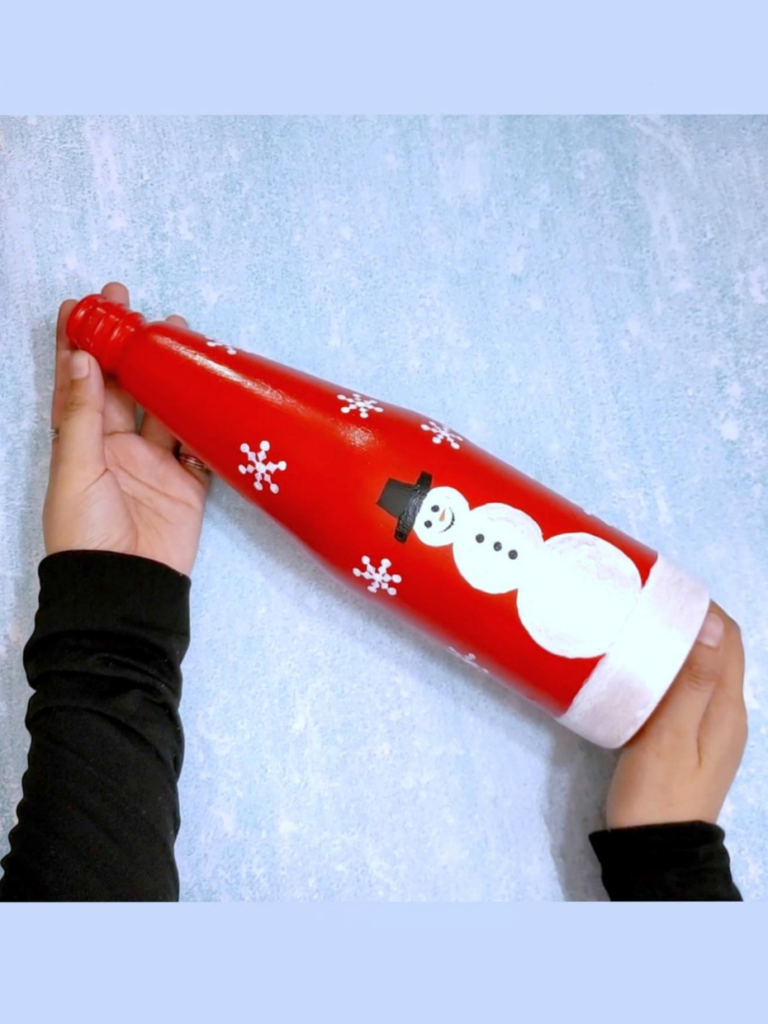
We will paint the bottom part of the bottle with white color as you see in the picture. After that, we will make the snowman.
Step 2
Step 3
You might like:
Easy diy toilet paper roll crafts
How to repurpose an old book into an origami chicken
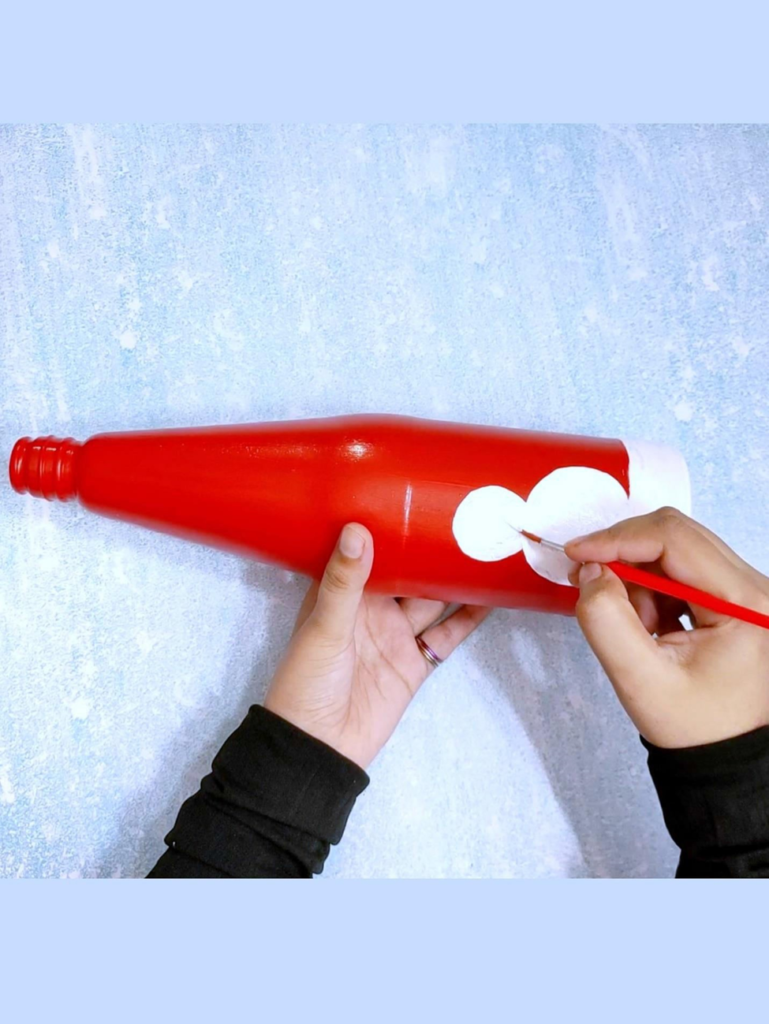
Now the snowman is completely painted
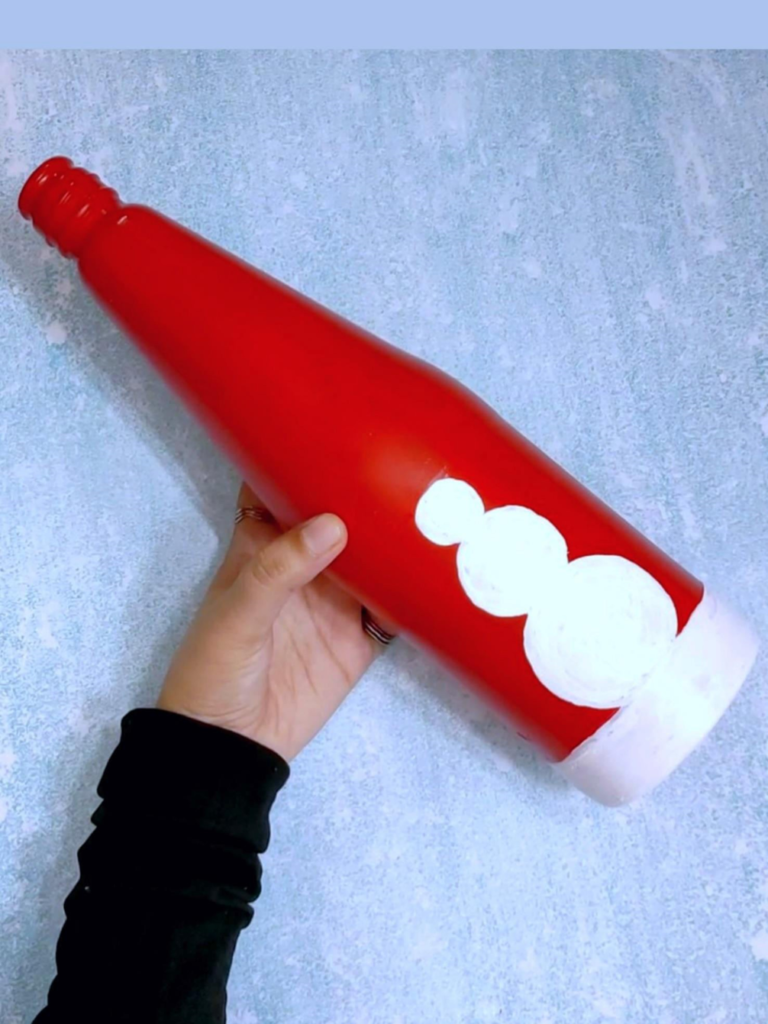
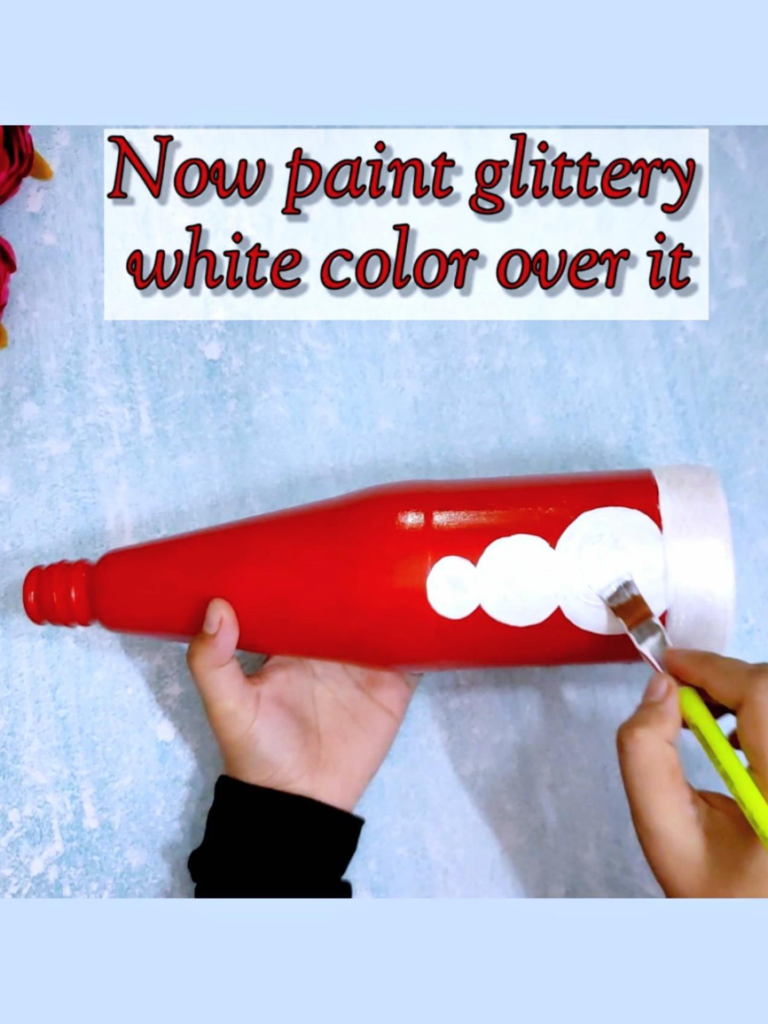
If you have white glittery paint then paint a coat over it, that will make it look shiny.
Step 4
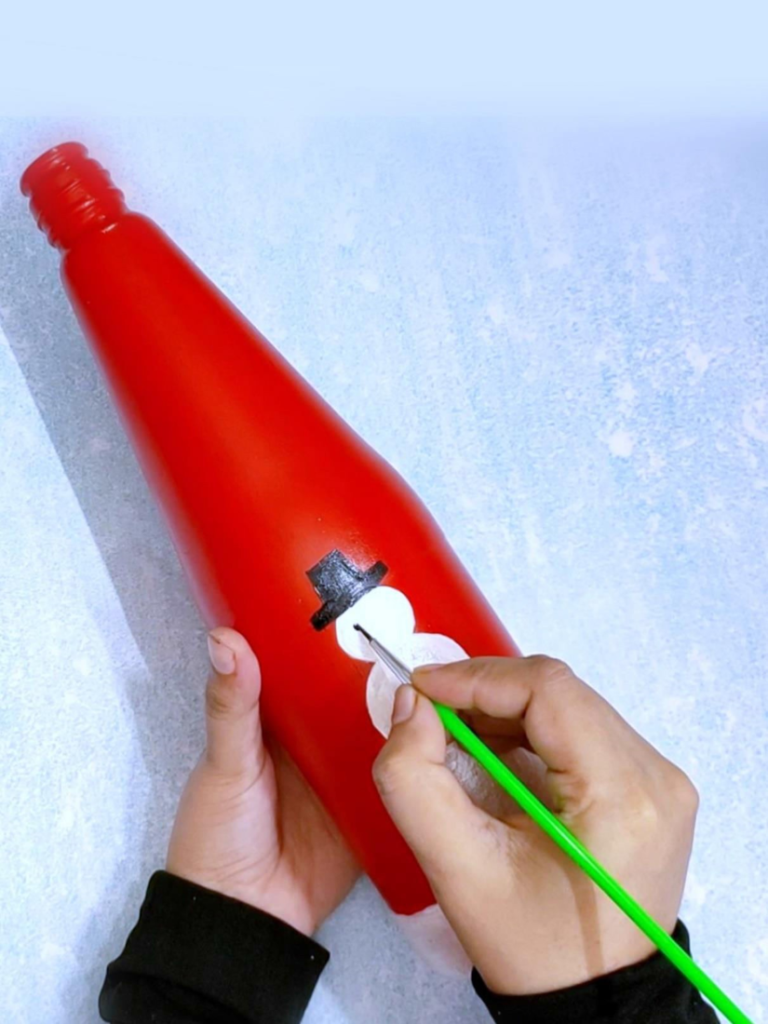
Now draw the hat of the snowman.
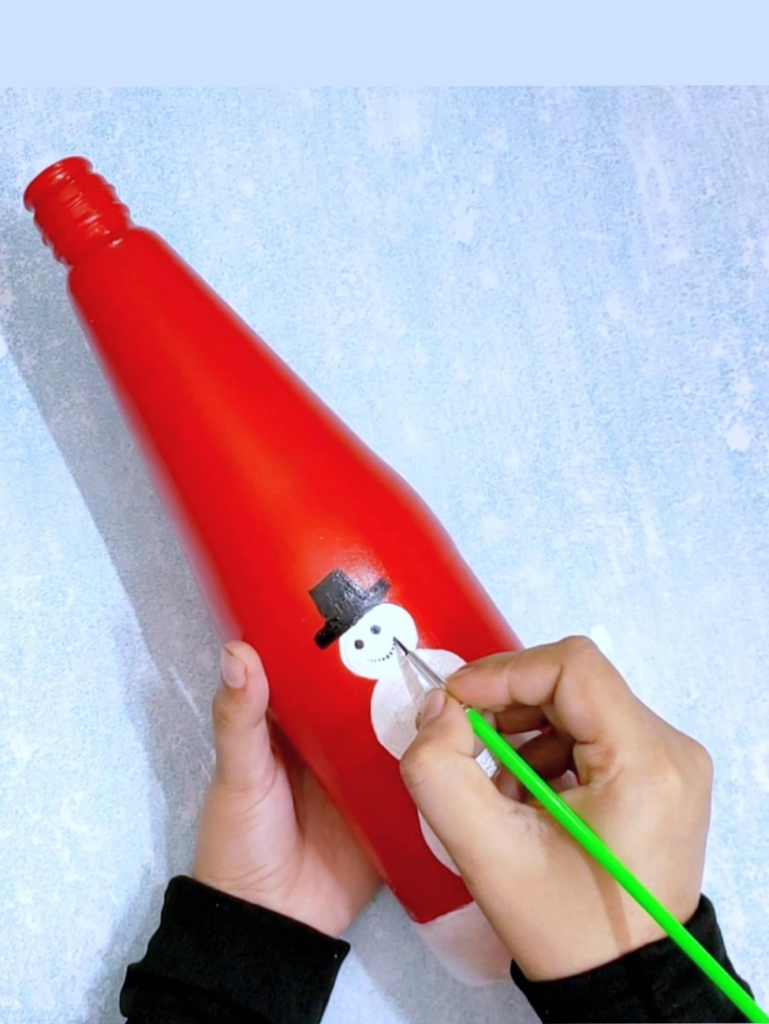
Continue drawing the eyes, nose, mouth and buttons of the snowman
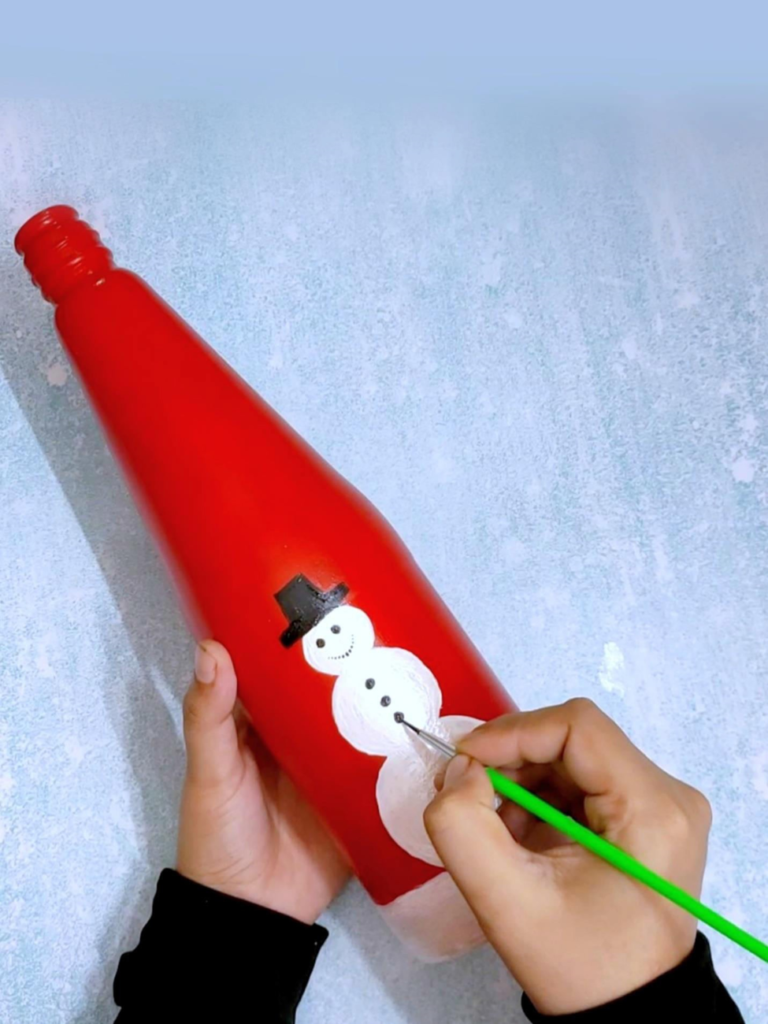
Step 5
Now we will make snowflakes. I use white paint, but you can use any other color, like black, blue, green, or something else. If you want, you can apply instead small snowflake stickers.
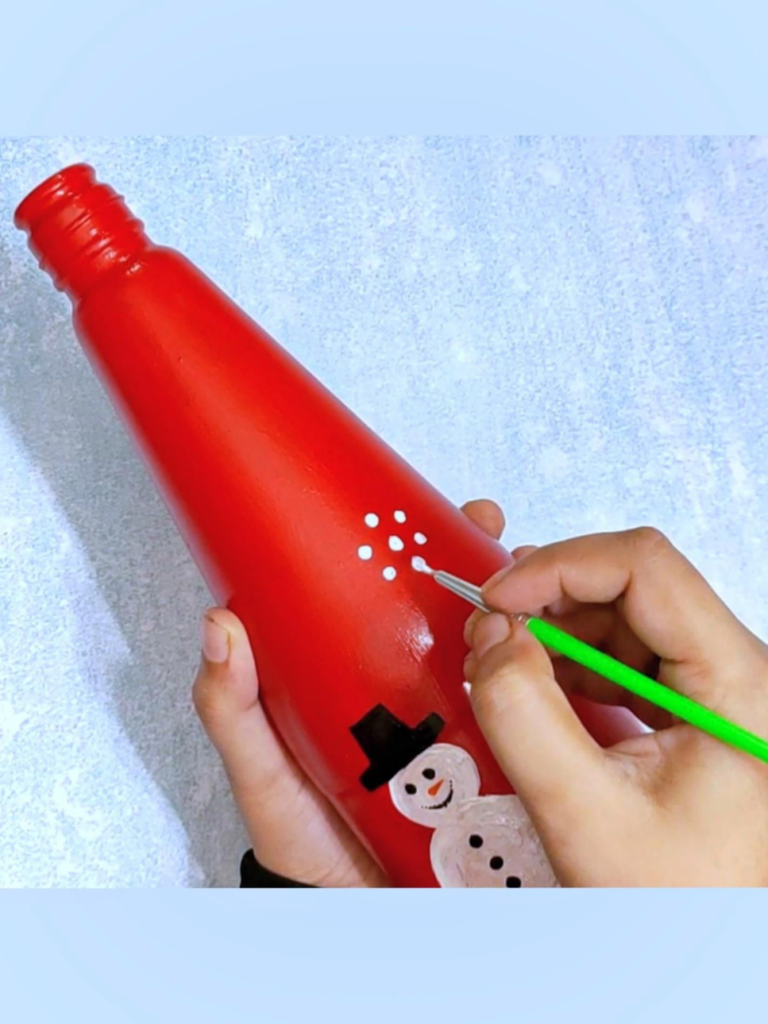
Draw the snowflake nicely to make the bottle very attractive
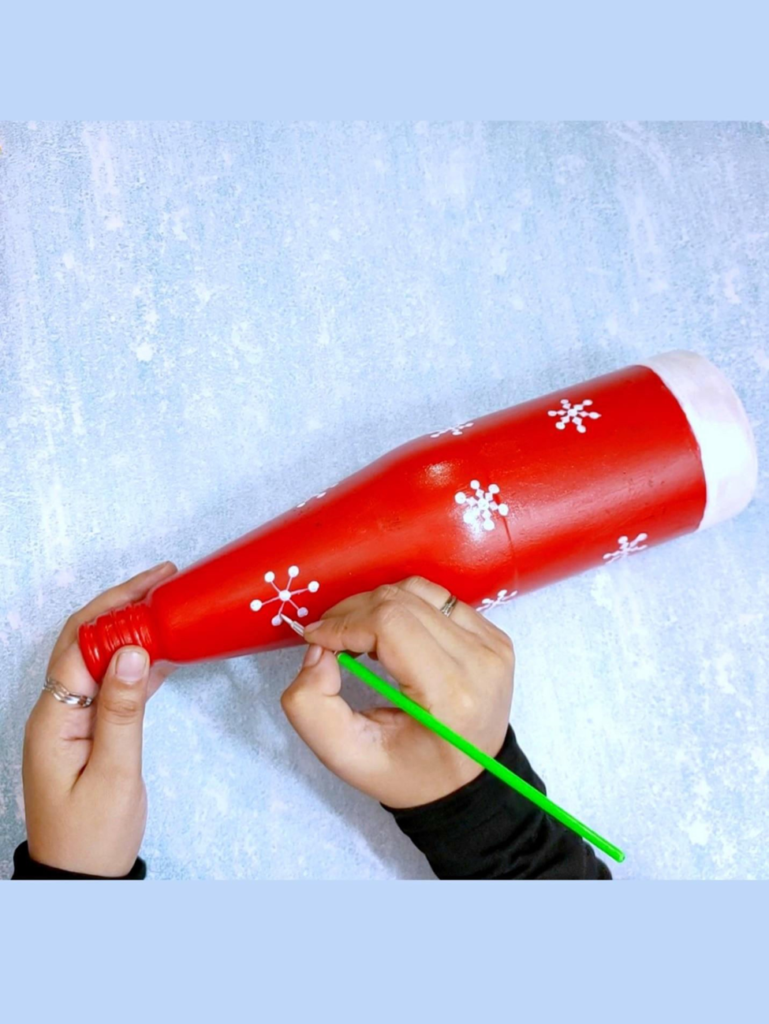
The snowflake is now ready and looks very pretty
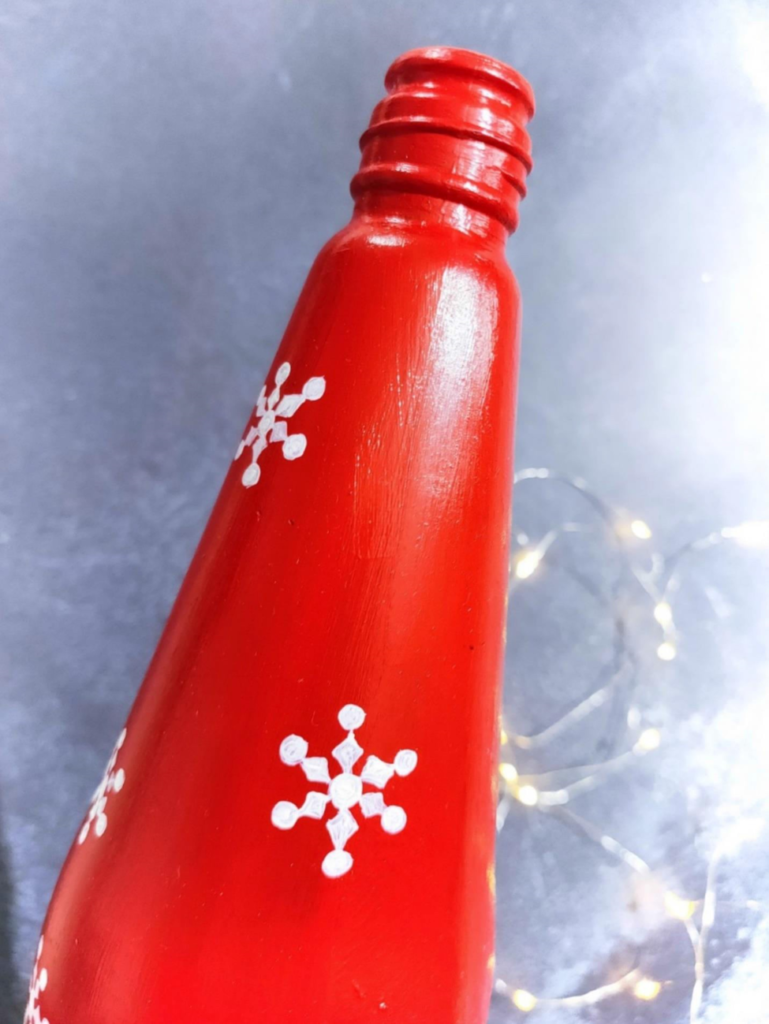
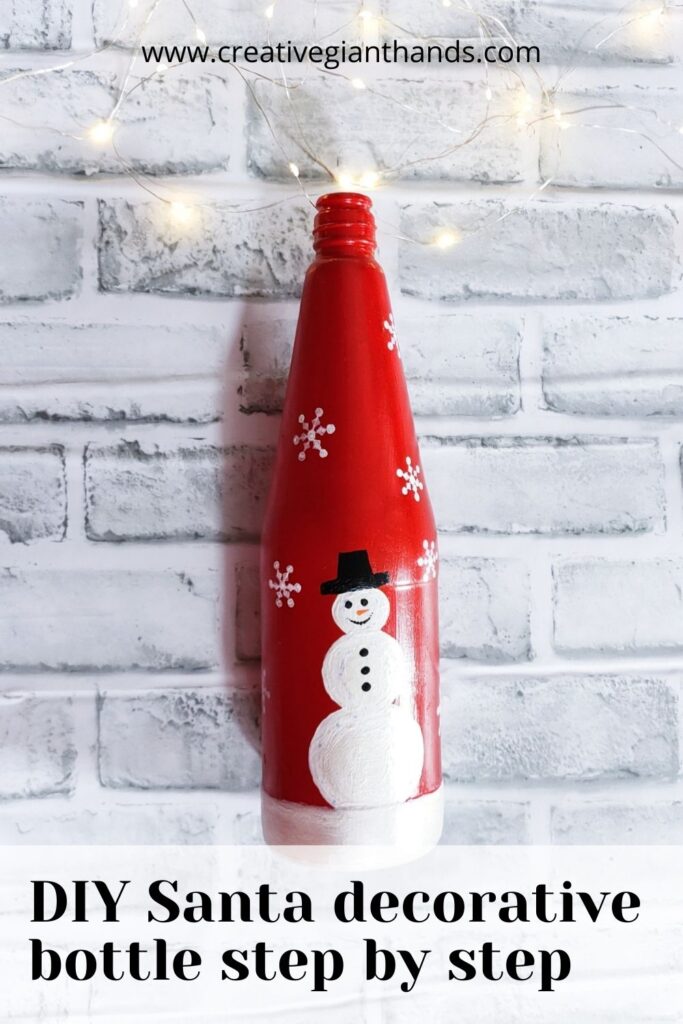
The Santa bottle is now ready and looks very cute. You can also personalize it with other stuff that you have around the house such as green leaves or artificial flowers and a jute ribbon.
Did you enjoy making this easy Christmas craft? If so, I think you might like these popular craft ideas to make and sell from home. Don’t forget to pin and share this post on social media for future reference.
